It’s not a secret that Apply does its best to provide its users with the best possible apps and tool that are handy for everyday use. Some may think that Apple’s software products can be accessed and utilized only by those individuals who own Mac or iOS devices. Thus, lots of Windows users who want to use iTunes on their non-Apple devices don’t even try downloading it. Luckily, we can refute this misconception right away and help you quickly download and install iTunes 64 bit or any other version you find suitable on your Windows device.
- Please, note that since iTunes was designed by Apple and thus was intended to be used on Apple devices, you may experience some difficulty running it on Windows. Should there be any problem, visit RocketFiles.com for a list of frequently experienced issues or troubleshooting steps.
Check out step-by-step instructions on how to properly download and install the application in question below.
Downloading iTunes Installer

You won’t be able to get by with iTunes Installer. So, you need to get it downloaded, first thing. To do it, fire up your browser and navigate to Apple’s official website or RocketFiles.com. On the website, locate the “Download iTunes Free” button. By clicking on it, you’ll start downloading the desired app to your computer any other device. Make sure to follow the on-screen instructions that will appear along the way to properly download iTunes installer.
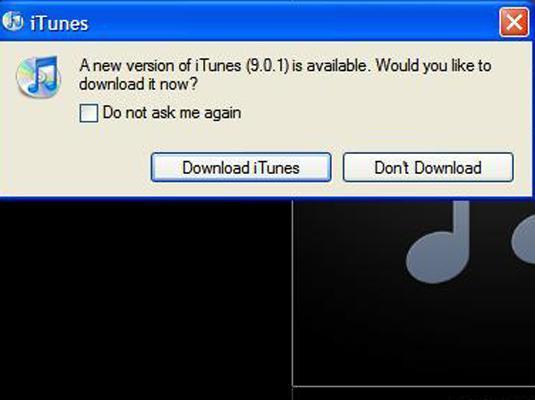
The file will be saved in your default Downloads folder, unless you specify some other location.
Running iTunes Installer
Navigate to the folder where the new installer file was saved. Locate the iTunesSetup executive file and double-click on it. By doing so, you’ll prompt the app to install. In the new Welcome window, select the “Next” option to proceed with the installation. What you’ll see next is the License Agreement dialogue box.
Accepting the Terms of License Agreement
As you know, no legit company can let you use its product without accepting the terms specifies in its license Agreement. Apple is no exception. Prior to using iTunes, you’ll need to familiarize yourself with the terms and conditions and accept them by clicking “Accept.”
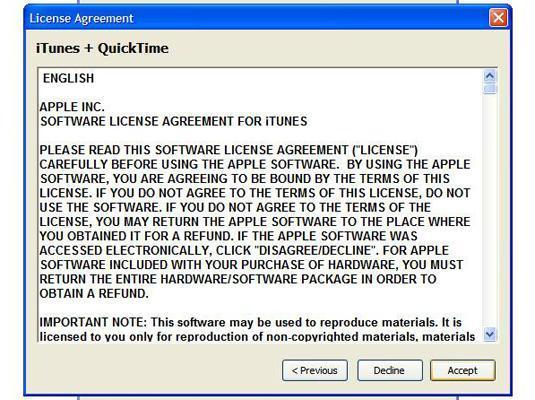
If you fail to do so, the installer program will go no further.
Once you consent to the terms, click the “Next” button. After that, you’ll see the installation options for you to choose from.
Choosing Installation Options
You can enable or, to the contrary disable, the following options: 1. Add iTunes and Quicktime Shortcuts to My Desktop and 2. Use iTunes as the Default Player for Audio Files. It’s up to you to decide what option, if any, to enable.
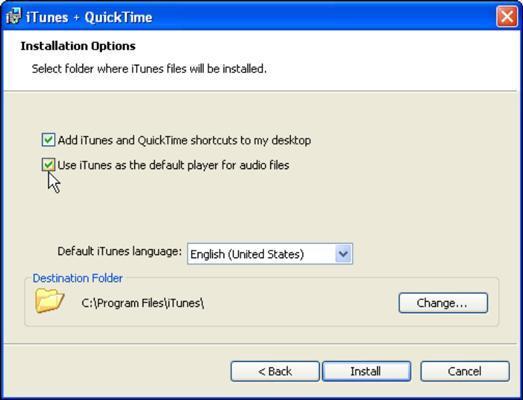
Choosing the Language
In the same “iTunes + Quicktime” windows, select your language from the drop-down list. If your language is English (U.S.), which is a default language in iTunes, don’t bother to change anything.
Choosing Destination Folder
If it’s not the first time you’ve downloaded a program to your computer, you know that your installer always elects to store new apps in the Program Files folder, on the C drive. If you don’t want iTunes there, you’re free to change its location to your liking. Just select “Change,” which is next to the “Destination folder.” By doing so, you’ll be able to select any other folder which, to your mind, will be the most suitable for storing your new app.
Finish Installing iTunes
Now you’re just one step away from using iTunes on your Windows device. All that remains to be done is to complete the installation process. Once you select the “Install” option, the installer will do its job and in about a minute, you’ll see a message notifying you of the successful completion of the installation process.
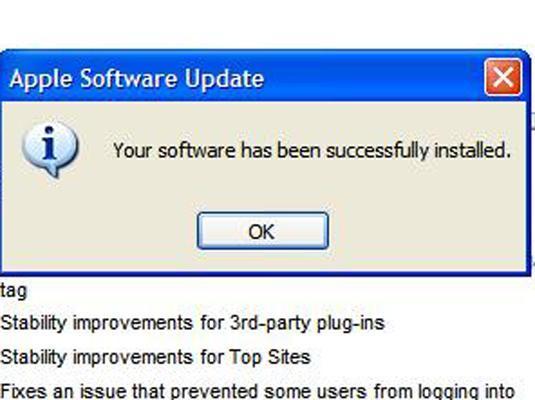
Hit the “Finish” button, then. We recommend that you reboot the system once you’re through with the installation.
We sincerely hope that our brief guide was helpful to you! Now you can take advantage of iTunes vast media library and start organizing your audio and video files wherewith the new application.


